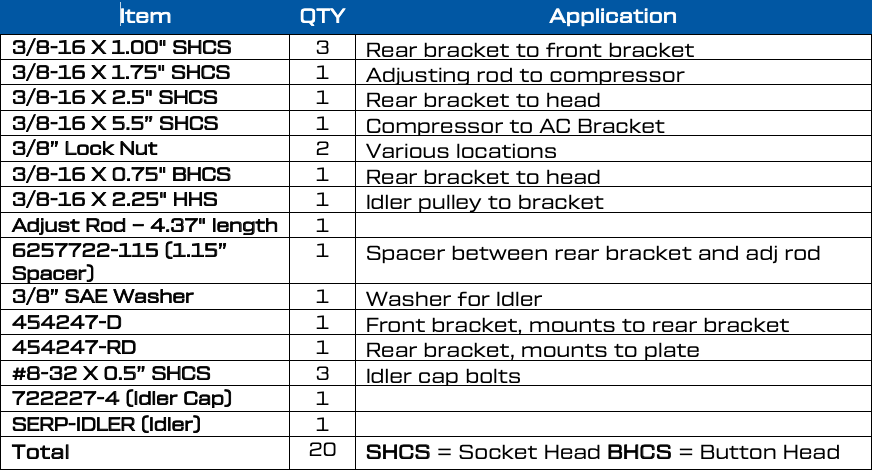
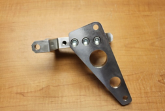
STEP 1: Attach the two brackets together using (3) 3/8 x 1” SHCS. Secure tightly.
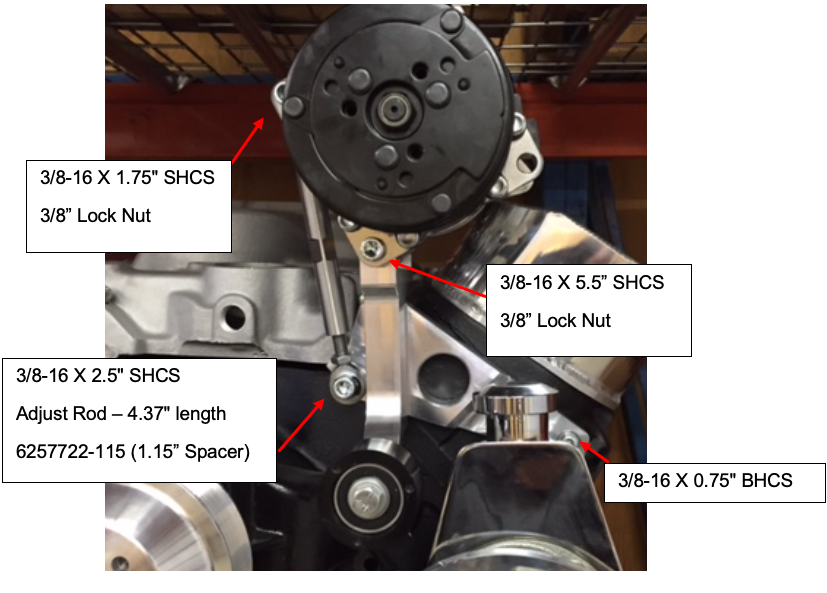
STEP 2: Attach the bracket assembly from step 1 onto your engine block on the right-hand side (US Passenger). The bottom right will use the 3/8 X .75” BHCS. The left side will mount with a 3/8 X 2.5” SHCS, 1.15” spacer, and the adjusting rod. The spacer will sit flush against the bracket. Tech Tip: Do not tighten any bolts completely until everything has been installed.
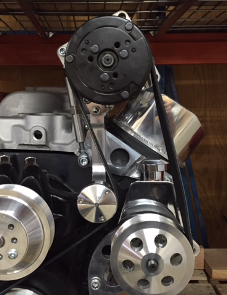
STEP 3: Install compressor using a locknut and 3/8 X 5.5” SHCS. If you look at the compressor with the ports straight up, the bottom right mounting hole is what will be used to hold it to the bracket.
STEP 4: Attach adjusting rod to compressor using the 3/8 x 1.75” SHCS and locknut.
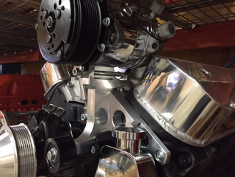
STEP 5: Install the idler pulley to the forward hole on the front bracket. Use the 3/8 X 2.25” HHS and a washer to secure the idler. It is recommended to leave the decorative cap off until the belt has been installed.
STEP 6: Tighten all bolts.
STEP 7: Install belt (Gates K080610 is recommended). You will likely need the compressor adjusting rod to be completely relaxed.